
How to Add a Boundary
The first step in organizing Xylok scans is to create a Boundary. This can be accessed from the side menu > Boundaries > Boundary List > Create Boundary (button at top of Boundary List Page).
This will open the New Boundary page:
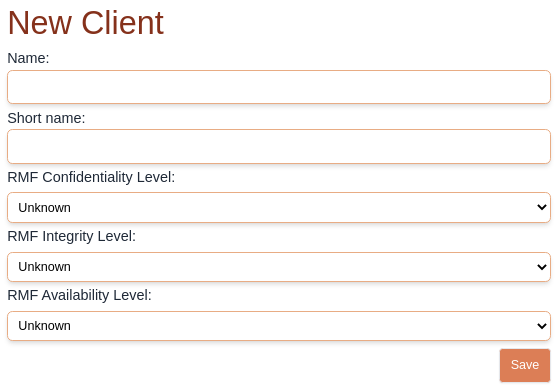
Enter a unique name for this Boundary, and a short name (the name used on most displays within Xylok). Enter the applicable RMF levels and hit Save to create the Boundary.
More information on Boundaries can be found at the Boundary Details page.